So I replaced the fan on the rx7 a couple of months ago, but I never got around to making up a shroud. Well the time has come to bite the bullet. Basically I’m just using the fibreglass sub-box method to make a nice, curvy shroud. This is taking me a while, as I usually go away on weekends, and nights aren’t the best for getting stuff done (I got forums to read :-P)
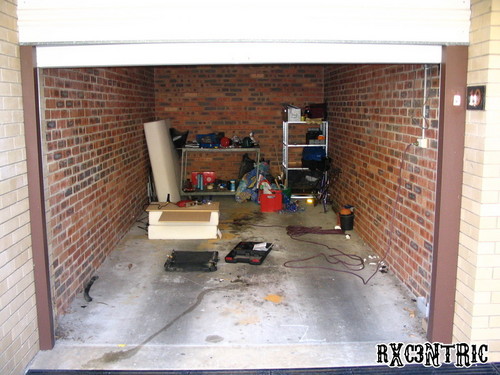
To start of with, here is my massive workshop (which also doubles as my garage :-S Yes, it needs a clean, and yes that is a dead couch in the corner. I’m actually going to dodge it up as the official Angry Bee Racing shed couch :-D.
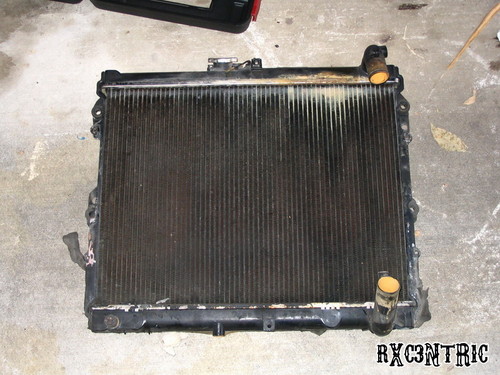
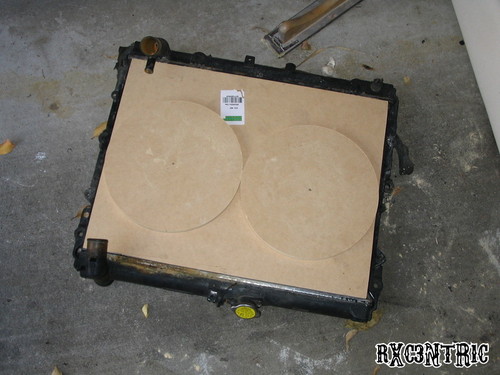
Here’s the old radiator I pulled out of the car, I’m using this for fitting etc. Not much else it is good for. I’d would have gotten a few photos of the thermo’s, but they were needed, and we all know what 10�? thermo’s look like anyway ;-).
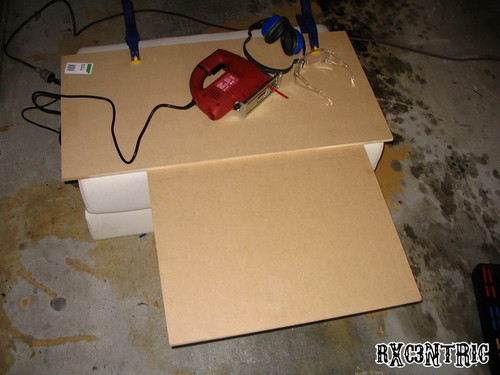
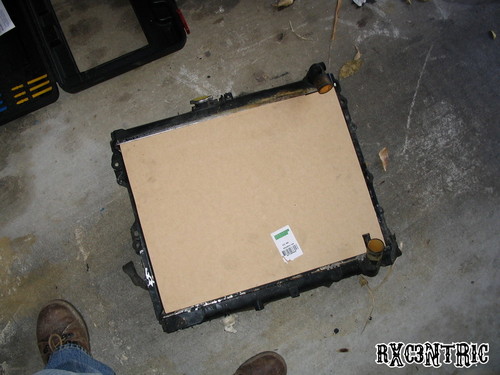
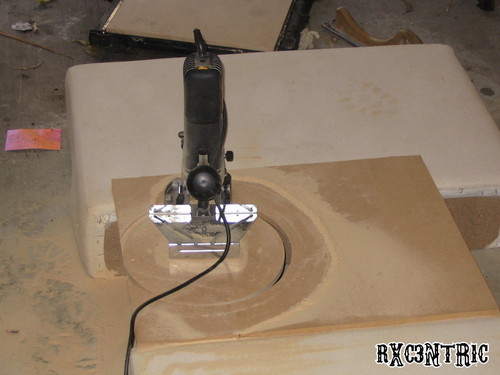
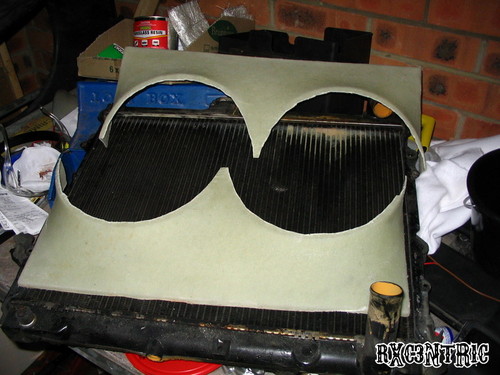
I did try to be smart and use the other bit of mdf I had to use as a guide. That failed for 2 reasons.
- Those little blue clamps couldn’t hold a chook raffle to save themselves.
- The jigsaw doesn’t actually cut straight, or at least, only when you hold it at about a 20 degree angle to the line :-S
You can see the result (just) at the top where the top inlet is. I used a staple gun to attach that little bit ;-).
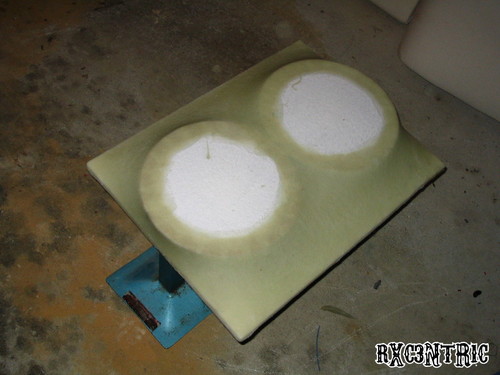
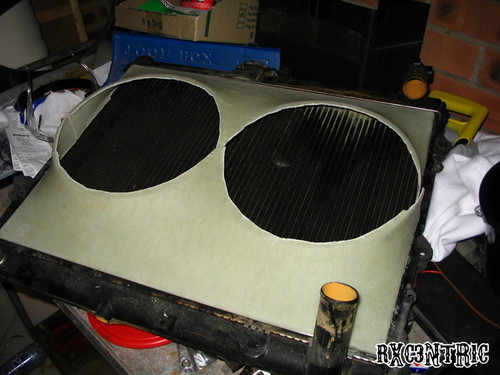
So then I cut some fancy circles with the cheapy router (after I broke a bit). I should have listened to all those "you can’t cut it through in one go" warnings I guess. But as you can see they turned out purrrfect.
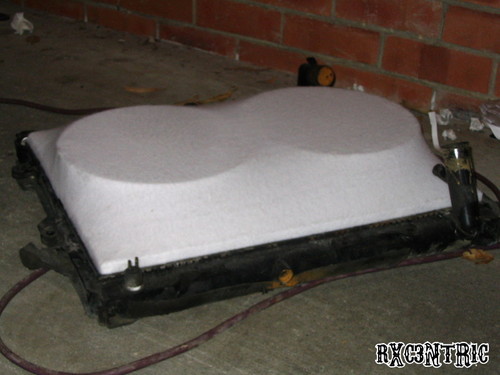
So then I thouhgt I would mask it up so the resin doesn’t stick to the board, wich took a while, and when i think back I could have done most of it with some plasitc wrap or wax paper, but oh well, you learn these things as you go along. You can also see I just used some dowel to stand the circles out the required distance. If I was going to manufacture more of these, I’d probably look into doing a bit more accurate, but this serves it’s purpose for me.
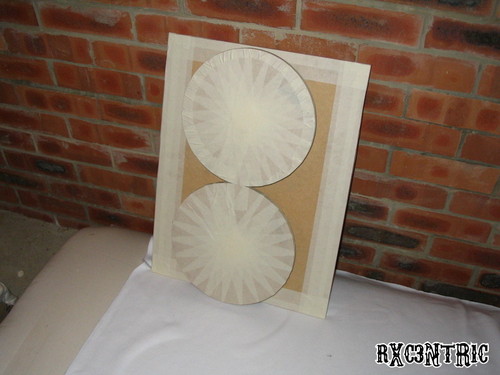
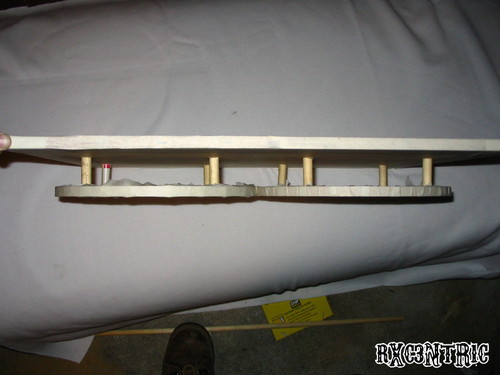
So the I stretched the fleece over the board, making sure it was taught all the way around and stappling it on. I then test fitted it to make sure that it would clear the top inlet and the heater outlet on the bottom outlet. The circles are more to the top to compensate for this.
So anyway, I may get to finishing it some time this week or next, so I’ll put up the finished product then.